 Fu_sion
在 github 上安装个人博客
用到的命令
 $ gem install jekyll
 $ jekyll new my-awesome-site
 $ jekyll build    //写完文章之后需要 build 下
 $ jekyll serve		//启动服务
 $ rake //新建文章 需要添加 Rakefile 文件
首先需要注册一个 GitHub 账号
- 在注册账号上有点需要注意的就是用户名, 用户就是以后博客的地址就像 SionFu.github.io 这里 SionFu 就是我的 GitHub 用户名, 不过没有注册到你想要的用户名也没事, 还有一个办法就是绑定个人域名, 在后面我会说说怎么绑定自己的域名。
- 在电脑上安装环境 Jekyll 这里是一个中文版的安装教程在 Mac 下一下几行命令就能完成安装
 $ gem install jekyll
~ $ jekyll new my-awesome-site
~ $ cd my-awesome-site
~/my-awesome-site $ jekyll serve
# => Now browse to http://localhost:4000
- 安装过程中出现问题可以 Google 百度, 我主要想说的是些我碰到的需要注意的地方,当然你想继续研究对 scc , js 感兴趣,也可以深读这个Jekyll网站上面虽然有些翻译的一般, 但是还是很详细的。
- 以上两个准备工作完成后,就可以打开 Github 创建工程了。
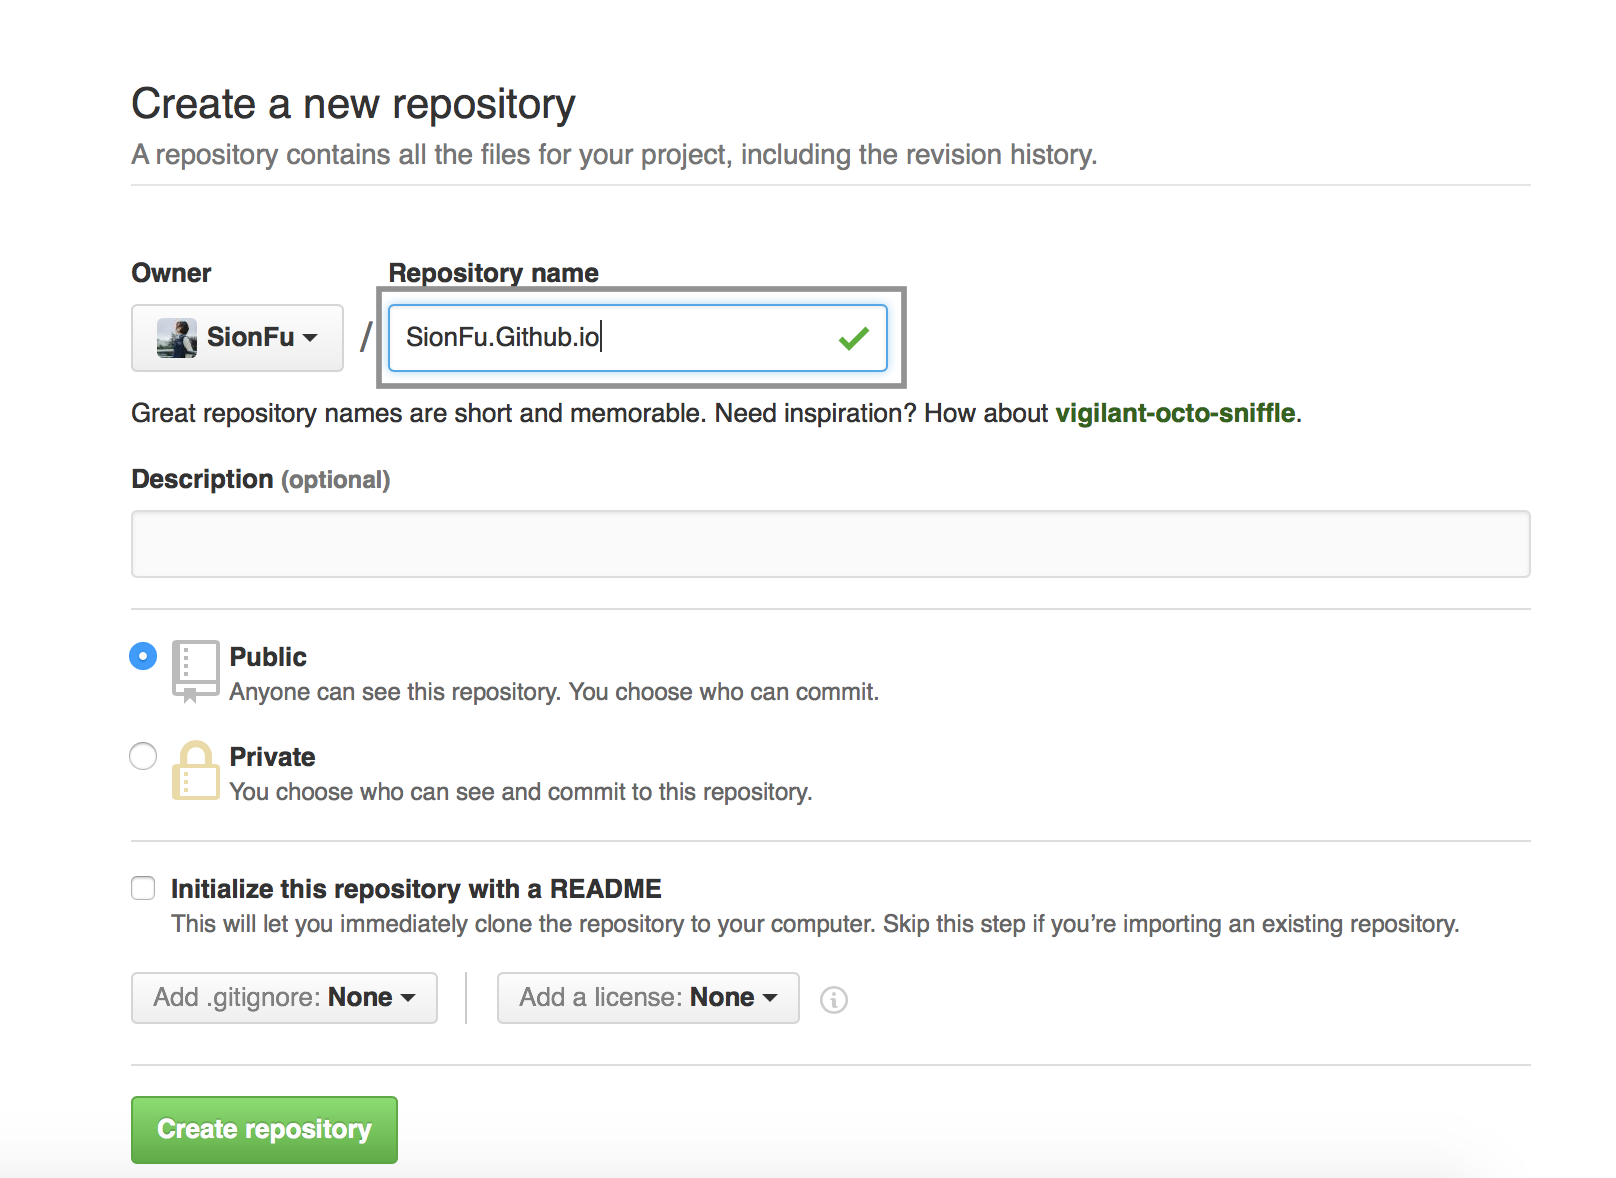
这里在棕色框内必须填写**用户名**.Github.io 才能创建博客项目,且一个账号就只能创建一个这样的项目。 - 如果这里项目名写错了, 也可以在后面再修改
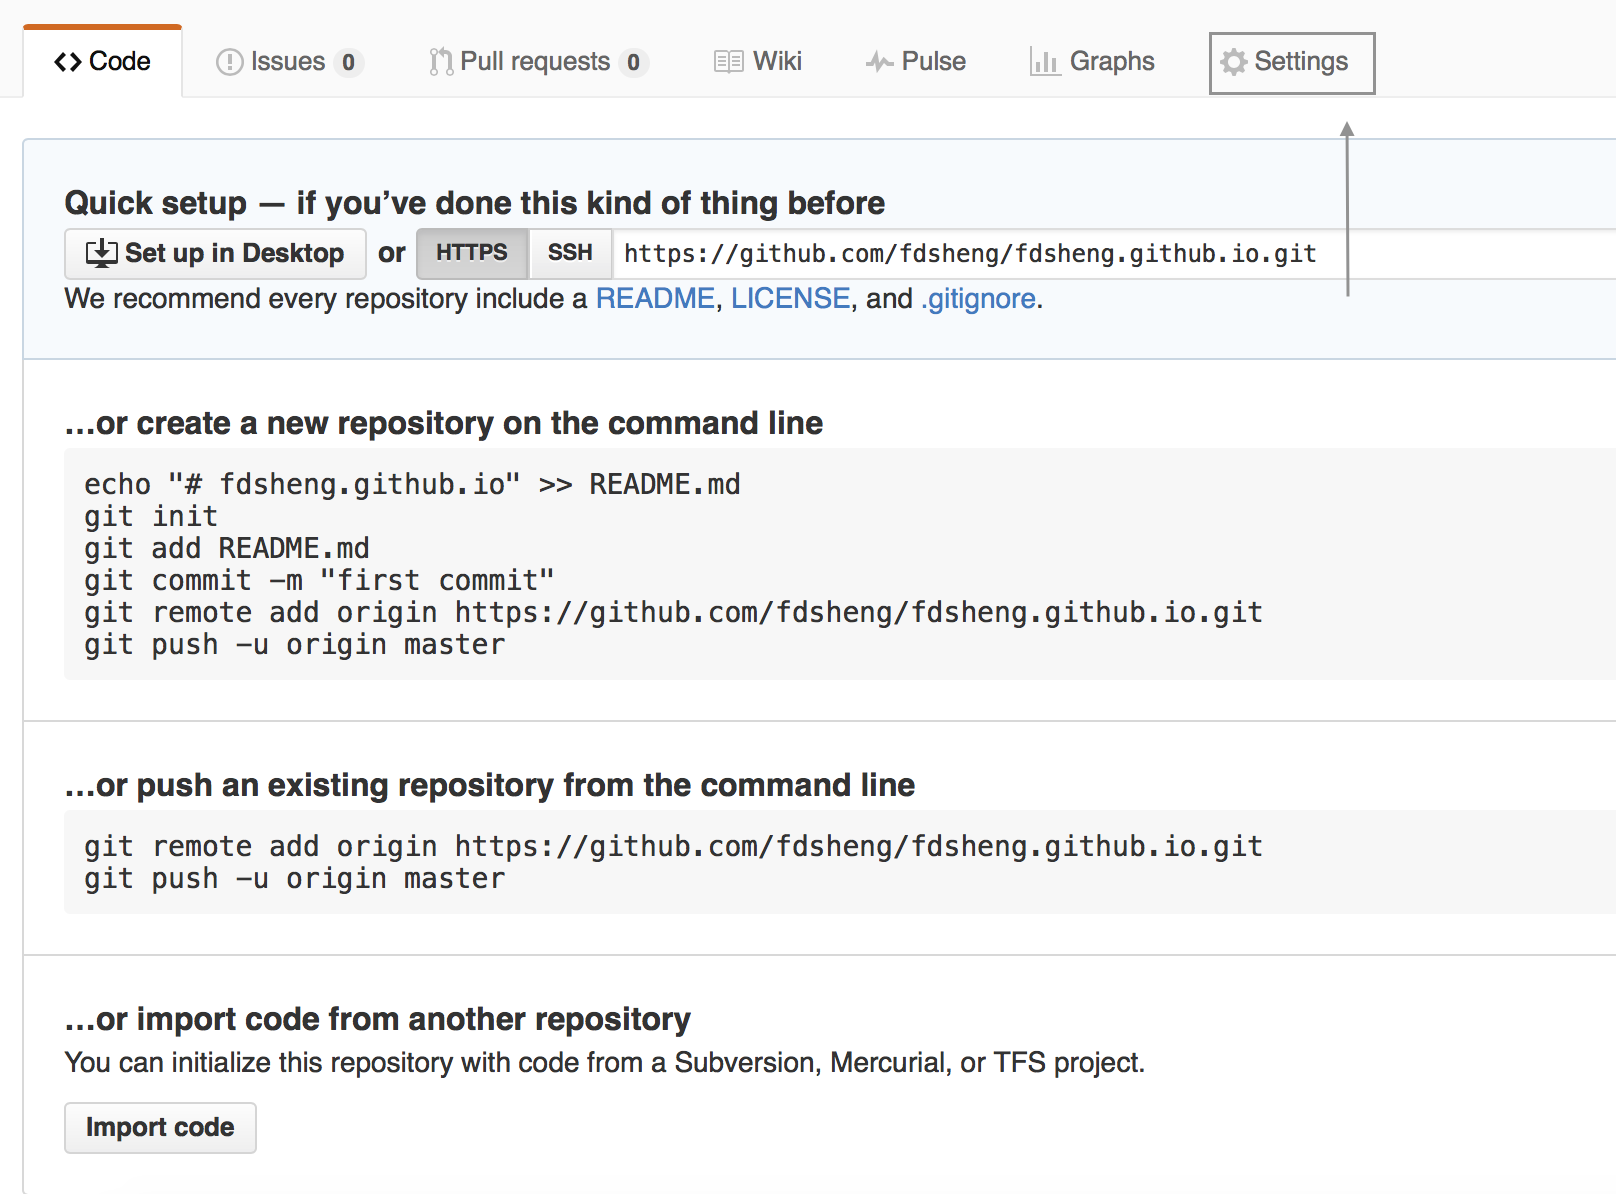
- 点这里可以创建一个 github 自带的博客主页, 之后可以删除
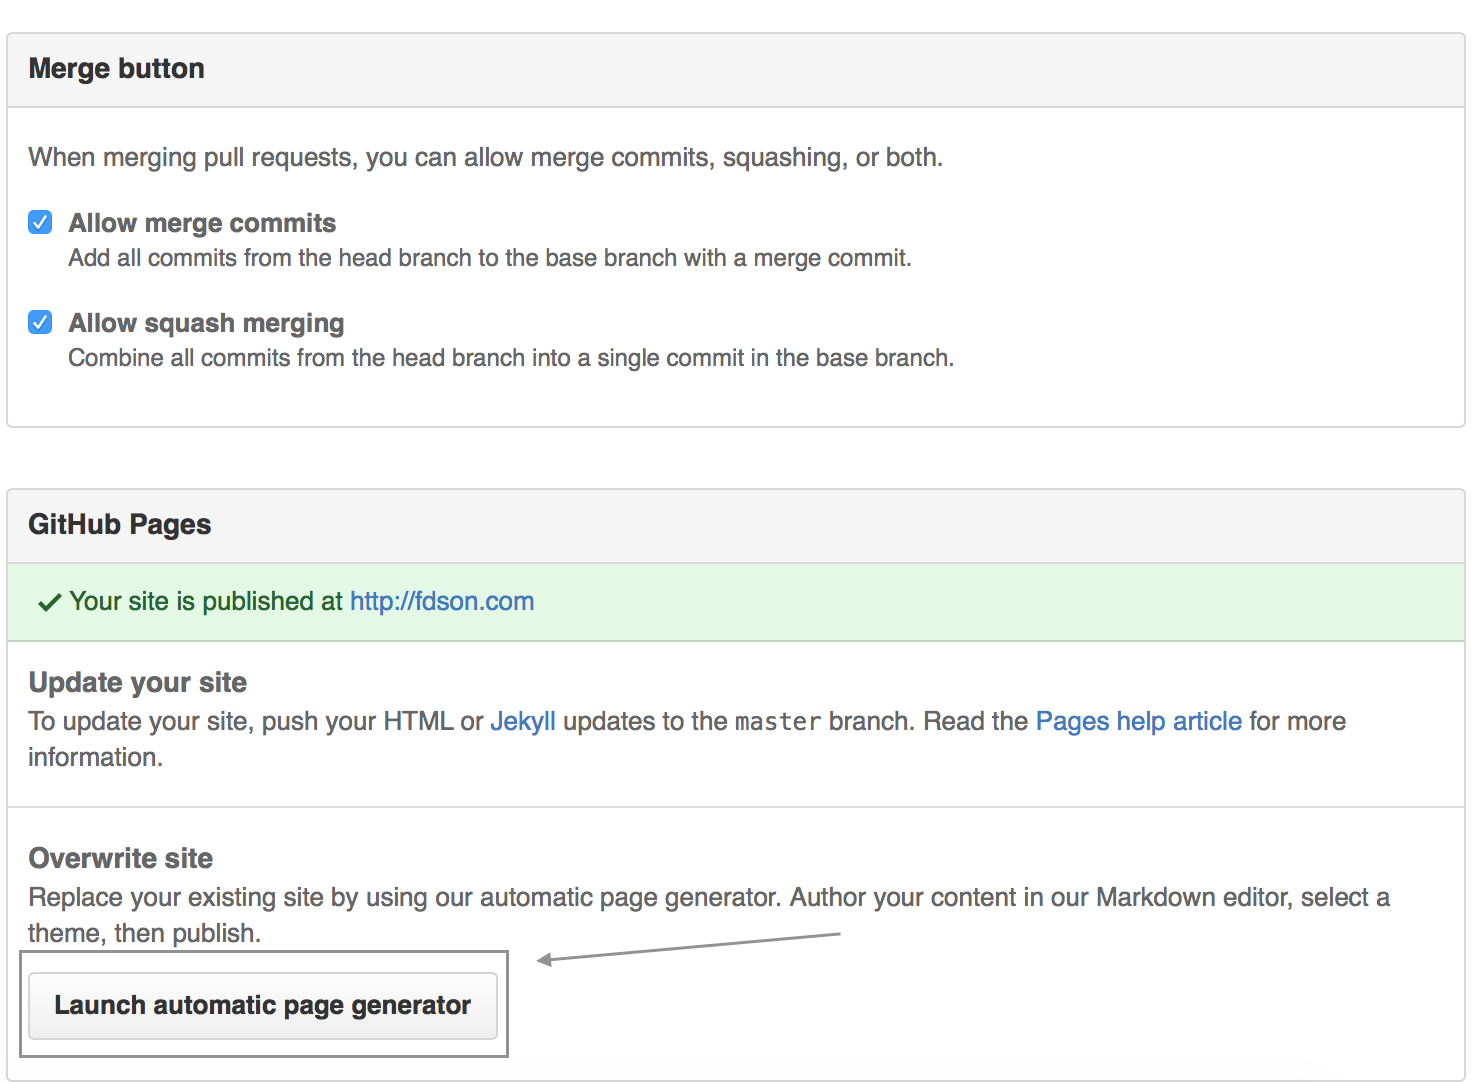
- 点击这个按钮之后你就可以从
你的用户名. github.io访问你的博客了, 到这里为止和 jekyll 都没什么关系 - 接下来还是和 jekyll 没什么关系, 打开GitHub Desktop 下载这个很好用的 git 版本控制软件, 登陆你的github 账号就能看到刚刚创建的项目
- 将这个项目Clone 到本地 然后 Jekyll 就派上用场了
- 用终端进入到刚刚 clone 下来的项目的文件夹上次层,用命令
jekyll new 你的项目名例如我的jekyll new SionFu.giuhub.io这样就创建好了你的个人静态博客, 接下来是配置打开项目里的_config.yml文件
# Welcome to Jekyll!
#
# This config file is meant for settings that affect your whole blog, values
# which you are expected to set up once and rarely need to edit after that.
# For technical reasons, this file is *NOT* reloaded automatically when you use
# 'jekyll serve'. If you change this file, please restart the server process.

# Site settings
title: 你的博客名字
email: 你的邮箱
description: > # this means to ignore newlines until "baseurl:"
  Write an awesome description for your new site here. You can edit this
  line in _config.yml. It will appear in your document head meta (for
  Google search results) and in your feed.xml site description.
baseurl: "" # the subpath of your site, e.g. /blog
url: "http://yourdomain.com" # the base hostname & protocol for your site
twitter_username: 你的推特用户名
github_username:  你的 github 用户名

# Build settings
markdown: kramdown
- ok 一切就绪,这里需要注意的一个地方是, 在配置文件的前和配置名之前需要有个空格!比如
title:[一个空格]Fu_sion不然就 bulid 不成功 - 接下来在终端运行
$ jekyll build
Configuration file: /Users/Fusion/test/_config.yml
            Source: /Users/Fusion/test
       Destination: /Users/Fusion/test/_site
 Incremental build: disabled. Enable with --incremental
      Generating...
                    done in 0.348 seconds.
 Auto-regeneration: disabled. Use --watch to enable.
看到这样的提示基本成功了 只差最后一步
- 然后是
$ jekyll server
      Generating...
                    done in 0.25 seconds.
 Auto-regeneration: enabled for '/Users/Fusion/test'
Configuration file: /Users/Fusion/test/_config.yml
    Server address: http://127.0.0.1:4000/
  Server running... press ctrl-c to stop.
看到这个信息, 已经离成功很进了
点击这个LocalHost就能看到你的博客的样子了
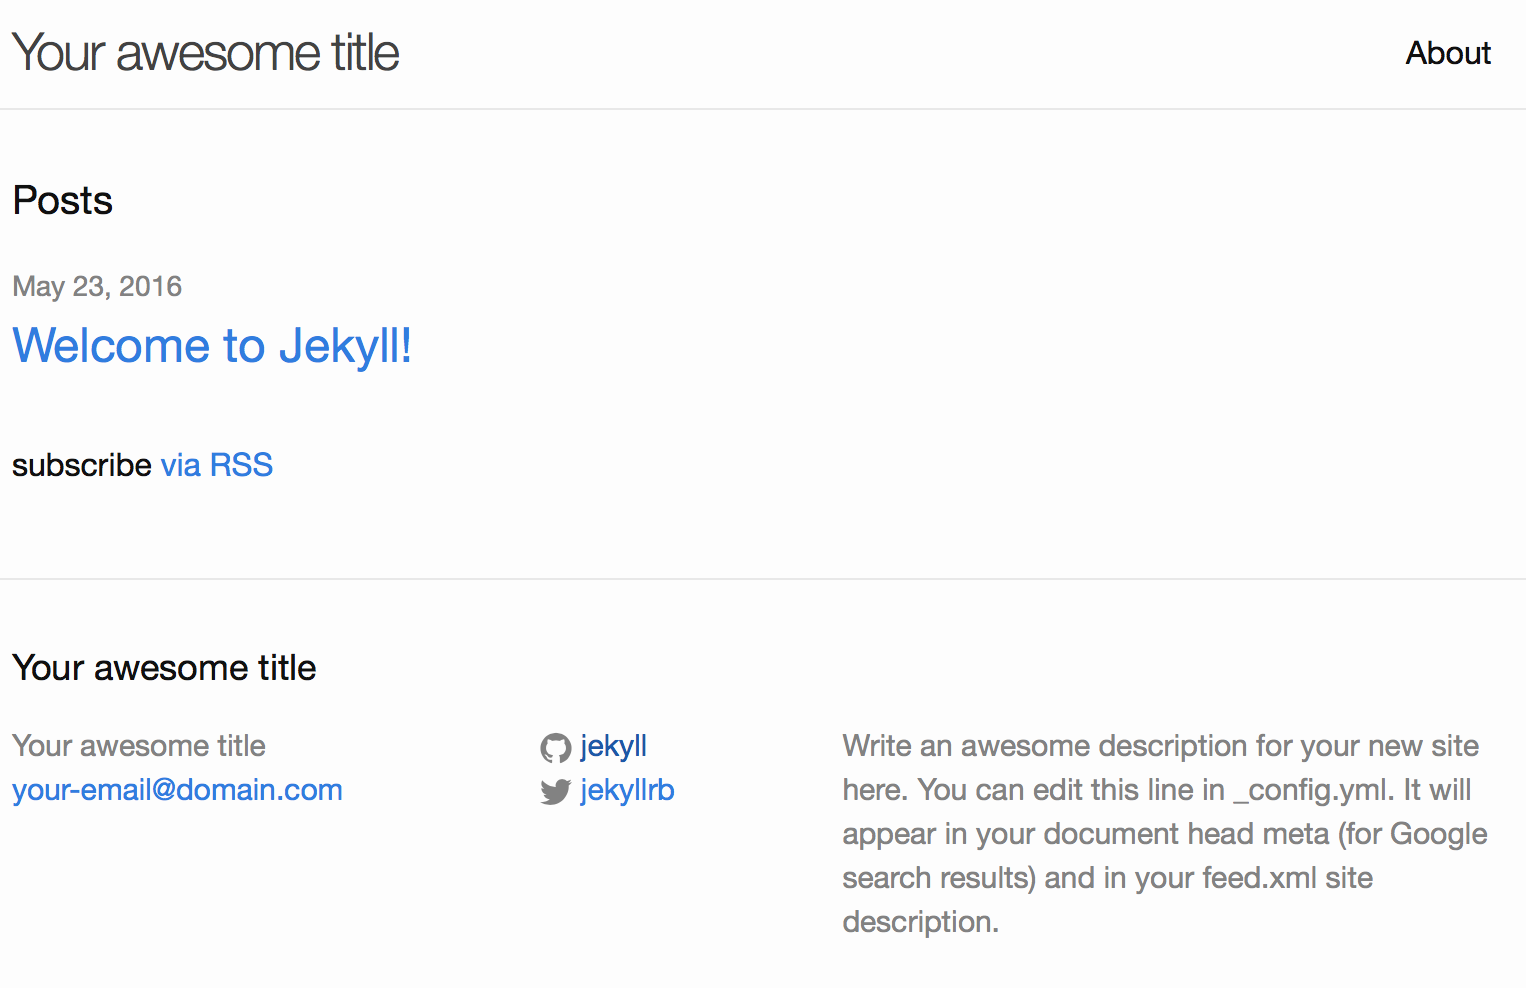
我想你已经看到类似的画面了
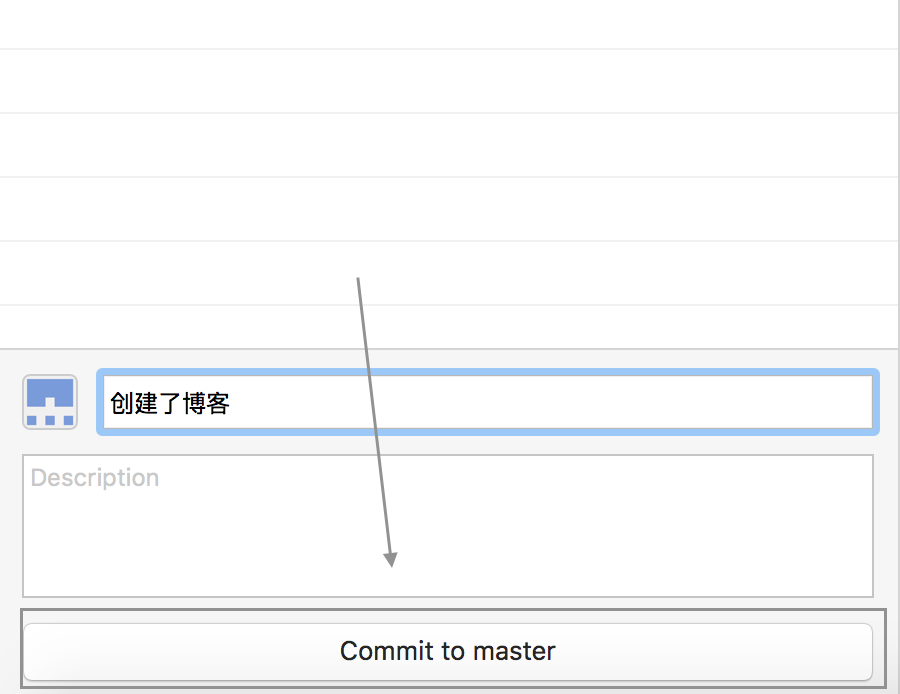
输入修改内容 点击 commit to master
-
点击右上角的Sync Done! 可以访问你的域名了如
SionFu.github.io了!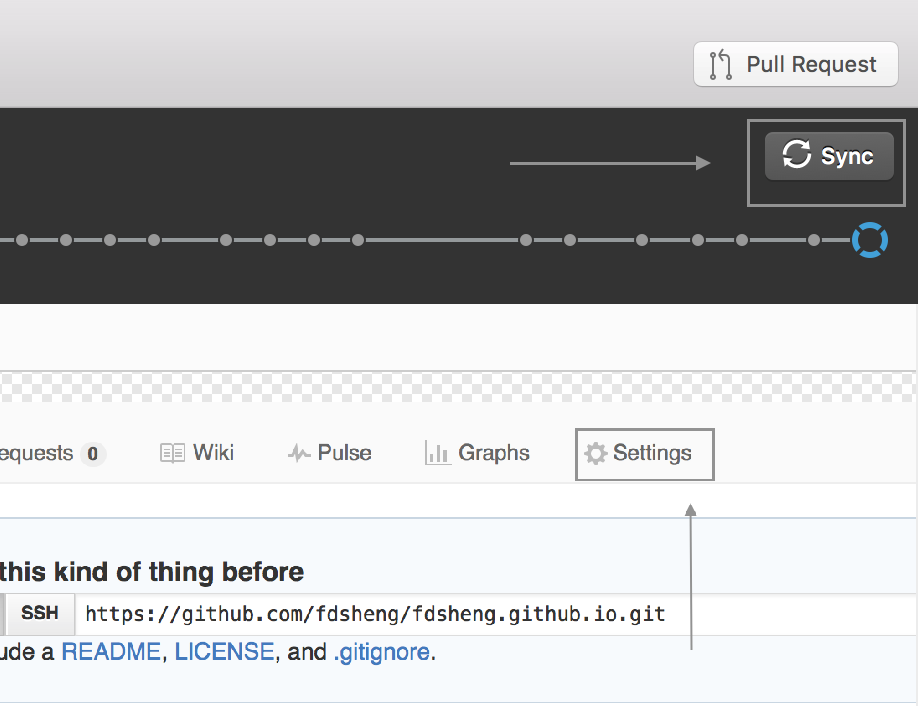
-
接下来就是关联自己的域名(如果你有的话), 在这个工程下面新建一个文件名为
CNAME没有后缀
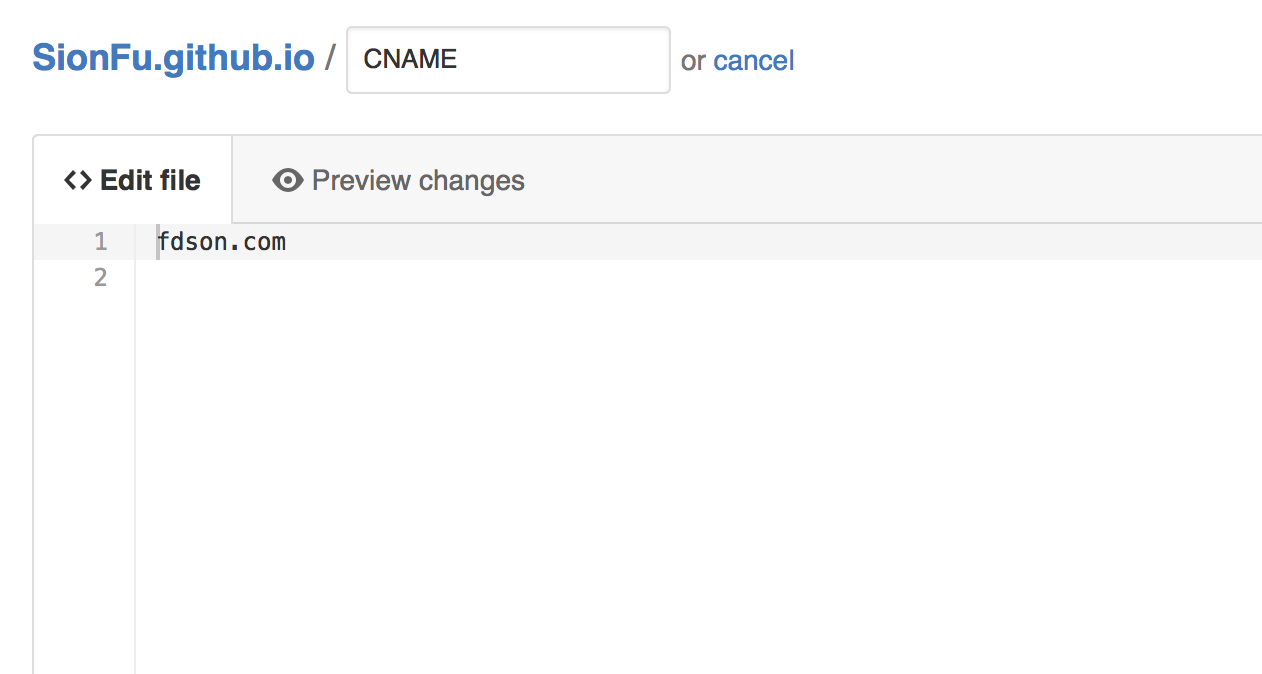
里面填写内容为你的域名 ok 真的结束了,然后在你的域名 DNS 服务器中添加 cname 指向你的博客域名 
例如fdson.com cname -> SionFu.github.io 接下来就可以用你的域名访问你的博客了